[edit 20170702 — I am receiving so many spam posts to this page that I’m blocking comments.]
Shapeways and DJI had a contest for 3d printable drone accessories to be used in water search and rescue operations. I had a lot of fun with fluorescein dye, PLA, and 3d printers, and Rhino5. I was a runner-up with a prize of $500 credit at Shapeways.
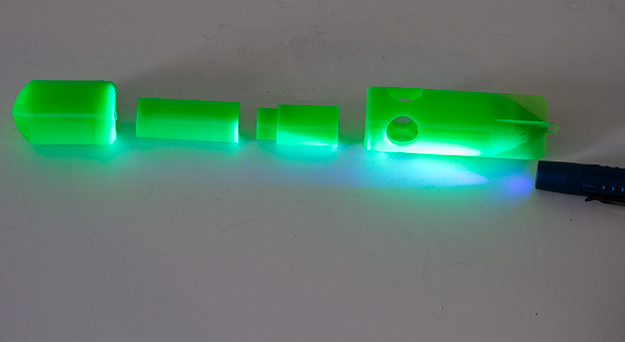
Here’s my entry: a fluorescein dye bomb/buoy that can be dropped from a drone to mark a target. It can be printed in fluorescein PLA which also reacts nicely to UV light. Search and rescue vehicles working over water use UV spotlights to search for fluorescein dye released from life jackets and water safety gear. Fluorescein dye was introduced in WWII by the German air force for finding air crews after a plane ditched in water, the use of this dye was quickly picked up by rescue crews.
Dye Bomb/Buoy

This is an air-deliverable dye marker bomb/buoy for drones, providing an easy way for a drone operator to mark a location in the water for responders. Using fluorescein dye in the marker makes the water highly reflective to visible and ultraviolet light used by S&R and first responder units responding to an emergency.
If printed with fluorescein green PLA, the buoy itself is also highly reflective in UV light.
How it works
This marker is for use with drones that have a mechanical claw equivalent to the NAZA 7th channel claws available on Shapeways.
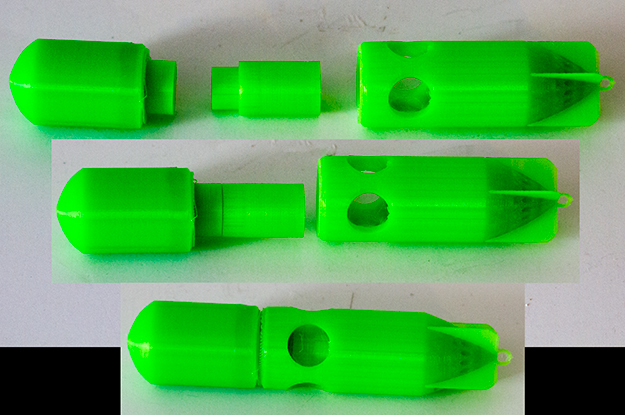
The dye marker buoy has two major components: the dye container and the container body.
The dye container has a friction fit lid that is hollow and floats, the lid is removed from the dye container by floating up if the buoy is submerged in water.
The buoy’s dye body has two pieces, a lower body that holds the dye container body and an upper body that has dye dispersal holes and room for the dye container lid to float to the top past the dispersal holes. The upper body also has fins to stabilize the downward fall, air release holes to make it easier for the cap to float to the top, and a loop for attachment of the marker to a mechanical claw or j-hook.
Assembly
- Insert the dye container in to the lower body with a friction fit.
- Fill the dye container with fluorescein dye marker powder
- Put the container lid in place, insure that it can rotate freely and is not bound by loose powder
- Attach the upper body to the body using the dye canister as a friction fit. If the friction does not create a secure connection, a small amount of contact cement can be used between the upper and lower body